
Having a hard time getting your wire connections with heat shrink tubing looking smooth and professional? If you don’t heat them right, the seals can mess up and your work might get damaged.
To use heat shrink tubing, cut it to length, slide it over the wire or component, and apply even heat from a proper source. The tubing will shrink tightly, providing a secure, insulated, and protective seal.

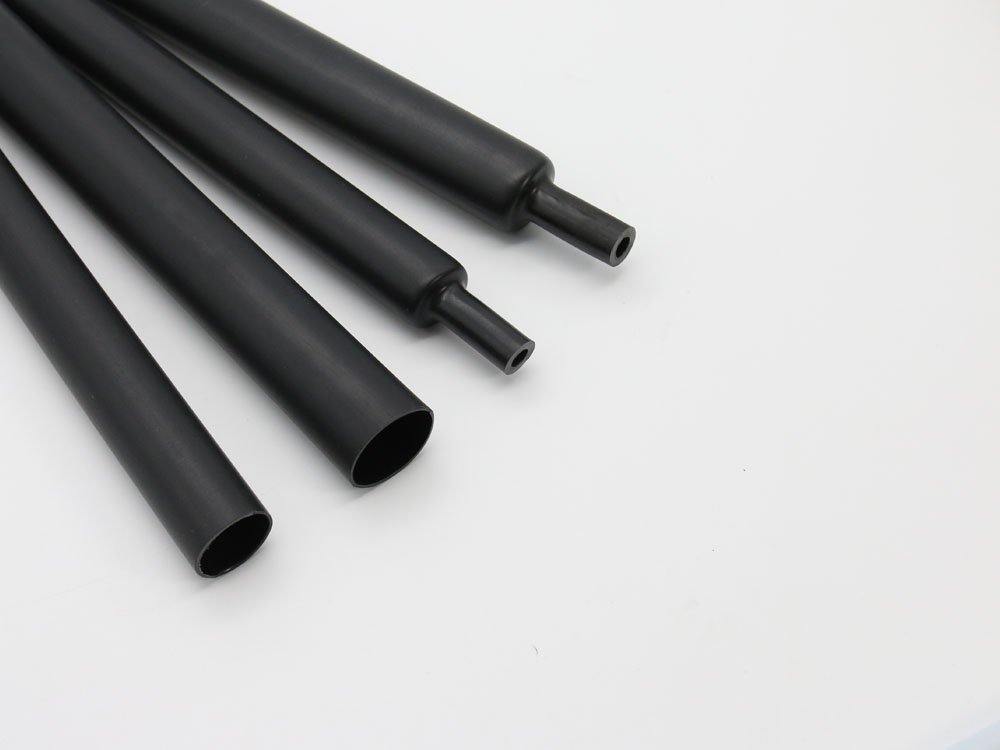
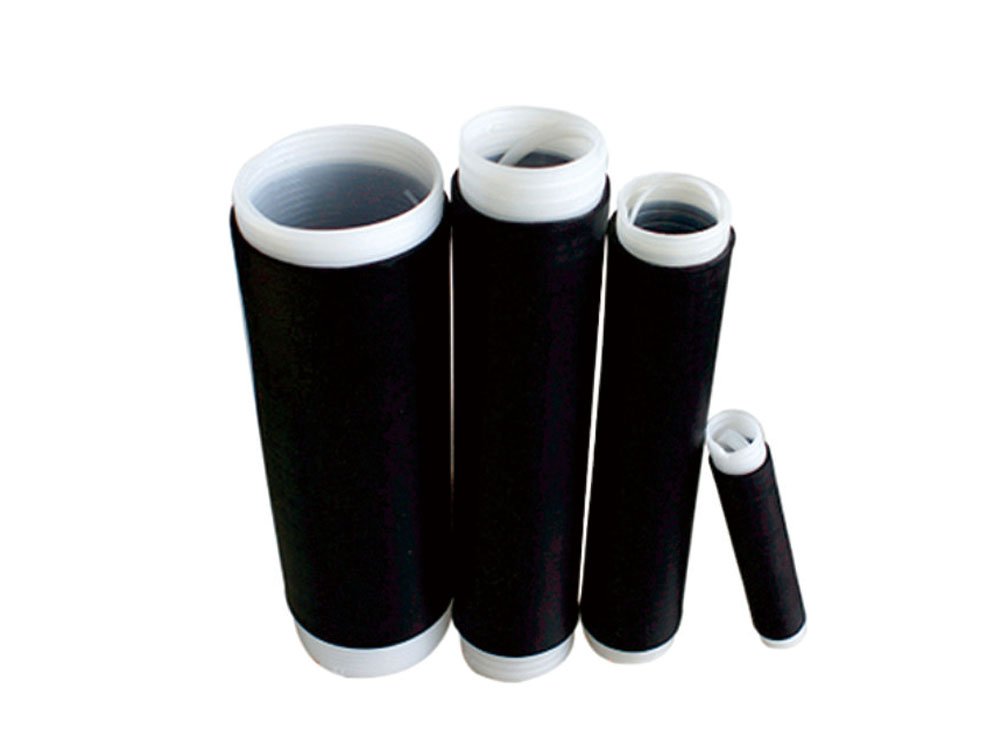
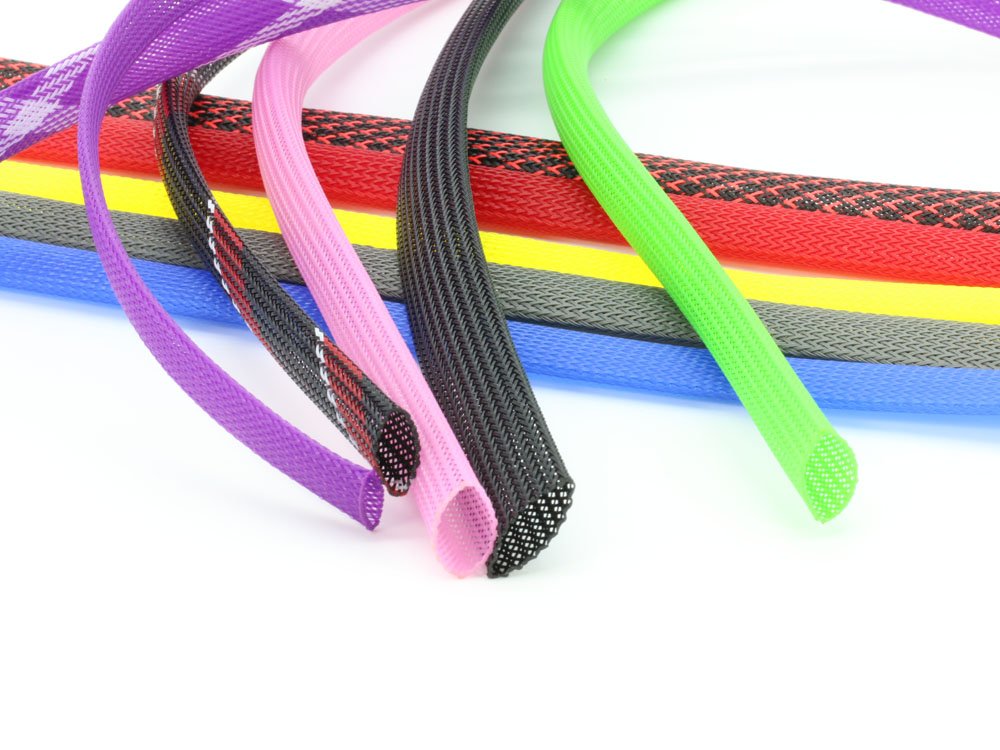
Heat shrink tubing kits
Applying heat shrink tubing seems simple, but the tool and technique you use make all the difference between a durable, long-lasting connection and a quick failure. Getting it right ensures your projects are reliable and safe. Let’s explore the best ways to get that perfect shrink every time.
What Is the Best Way to Shrink Heat Shrink Tubing?
Are you unsure which tool to grab for your project? Using the wrong heat source can scorch your tubing or leave you with a loose, uneven seal.
For most jobs, a heat gun is the best and most reliable tool for shrinking heat shrink tubing. It provides controlled, consistent, and evenly distributed hot air, which is essential for a uniform shrink without damaging the tubing or wires.

Shrinking Tubing with a Heat Gun
A heat gun is my go-to recommendation for a reason. Unlike an open flame, it doesn’t deposit soot, and it’s much safer for the insulation on your wires. The key to a perfect application is technique. You should always start applying heat in the middle of the tubing and then slowly work your way out toward the ends. This method pushes any trapped air out, preventing bubbles and ensuring the tubing conforms tightly to the object.
Always keep the heat gun moving. Holding it in one spot for too long is a common mistake that leads to scorching or melting. You want to gently rotate the wire or move the nozzle of the heat gun around the tubing to heat all sides evenly. This steady, controlled process results in a professional-looking, mechanically strong seal that provides excellent insulation and strain relief. For any job, from a single prototype to small-batch production, the control a heat gun offers is simply unmatched. It’s the professional standard.
How to Shrink Tubing with a Heat Shrink Oven for Mass Production?
Worried that using heat guns is slowing down your production line? Manually shrinking tubing on hundreds or thousands of assemblies is a bottleneck that kills efficiency.
For high-volume production, a conveyor heat shrink oven is the best solution. Assemblies are placed on a conveyor belt that moves them through a tunnel with a precisely controlled temperature, ensuring a fast, consistent, and high-quality shrink every time.

Heat Shrink Oven for Mass Production
In a high-volume environment like a wire harness workshop, time is money. A heat gun is great but too slow for mass production. This is where a heat shrink oven changes the game. I always advise my large-scale customers, like Eric, to invest in this equipment for a few critical reasons. First is consistency. An oven provides the exact same temperature and exposure time to every single piece, eliminating human error and ensuring every seal meets quality standards. Second is speed. An operator can simply load assemblies onto the conveyor, and the machine does the rest, dramatically increasing throughput.
This process also improves safety by containing the high temperatures. Furthermore, the quality of the shrink is often superior. The omnidirectional heat inside the tunnel shrinks the tubing perfectly from all sides at once. This leads to fewer rejects and a more reliable end product. While the initial investment is higher, the return in production efficiency, quality control, and reduced labor costs is massive for any serious manufacturing operation.
What Temperature Is Needed to Shrink Heat Shrink Tubing?
Afraid of overheating and destroying your components? Using the wrong temperature can turn your expensive tubing into a melted mess or leave it too loose to work.
The required shrink temperature depends on the material, but most polyolefin tubing shrinks at around 125°C (257°F). Always check the manufacturer’s technical datasheet for the specific shrink temperature of the tubing you are using.
There is no single "one-size-fits-all" temperature, as it is entirely material-dependent. The temperature listed on a datasheet is the minimum temperature required for the shrinking process to begin and complete successfully. Applying heat below this temperature will result in a partial, loose shrink. Applying heat far above it risks burning the material and damaging the underlying wire insulation.
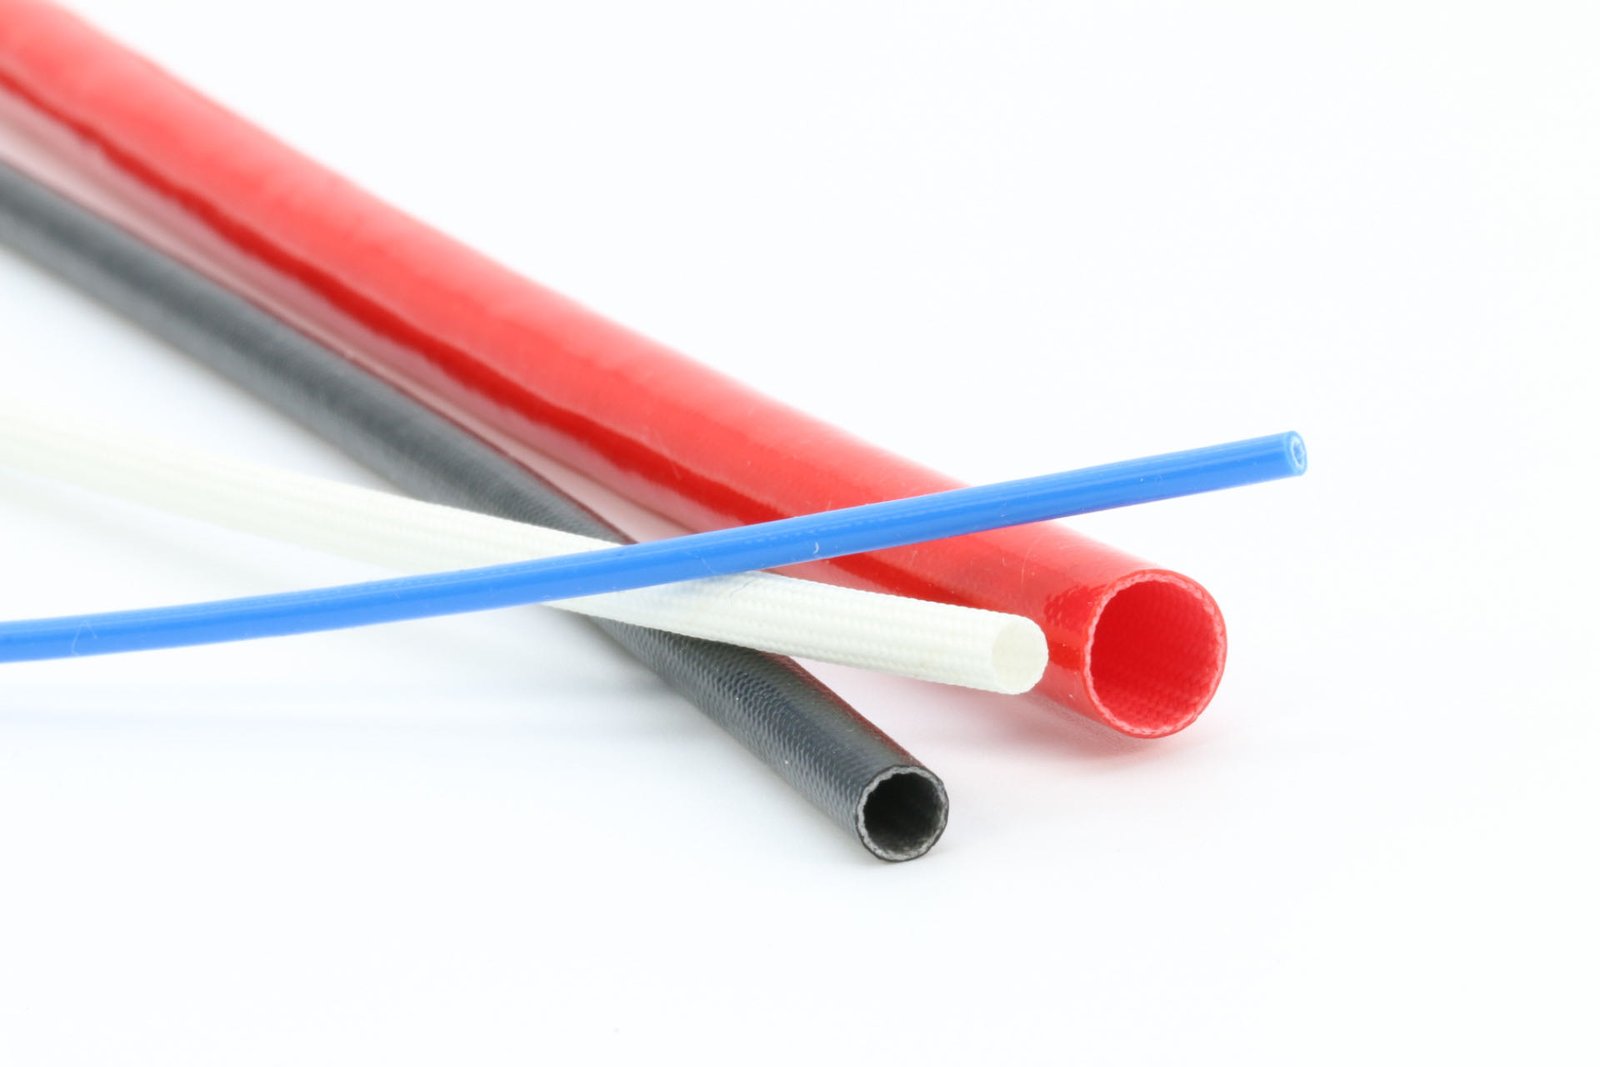
Here’s a quick guide to common materials:
| Material Type | Typical Shrink Temperature | Key Characteristics |
|---|---|---|
| Polyolefin | 90°C – 125°C (194°F – 257°F) | Most common, versatile, good balance of properties. |
| PVC | 100°C – 135°C (212°F – 275°F) | Lower cost, less flexible, can be brittle in cold. |
| Viton™ | 175°C (347°F) | High-temp resistance, excellent chemical resistance. |
| PTFE (Teflon) | 327°C (621°F) | Extreme temperature and chemical resistance. |
Always err on the side of caution. Set your heat gun to the low end of the recommended range and increase it slowly if needed. The goal is a smooth, wrinkle-free shrink, not a race to see how fast you can apply heat. The technical datasheet is your most important tool here.
Can a Hair Dryer Shrink Heat Shrink Tubing?
Stuck without a heat gun and wondering if a common household tool will work? It’s tempting to grab a hair dryer, but it often leads to frustration.
No, a standard hair dryer typically cannot shrink heat shrink tubing. Most hair dryers do not reach the necessary shrink temperature (usually above 90°C) required for professional-grade polyolefin tubing to shrink properly.

Hair Dryer and Heat Shrink Tubing
The problem with a hair dryer is twofold. First, and most importantly, is the lack of heat. A typical hair dryer tops out around 60°C to 70°C (140°F to 160°F), which is well below the minimum shrink temperature for almost all industrial tubing. You might get a very slight, loose shrink on some extremely thin-walled PVC tubing, but it will not be a secure or reliable seal.
The second issue is the airflow. Hair dryers are designed to move a large volume of air over a wide area. For heat shrink tubing, you need concentrated, high-temperature air focused on a small area. The broad, low-temperature airflow from a hair dryer is inefficient and won’t shrink the tubing evenly. It will likely just blow hot air around the component without ever getting the tubing itself hot enough. While it seems like a convenient substitute, it simply doesn’t have the power to do the job right. Using the correct tool, like a heat gun, is essential for a professional result.
Can You Shrink Heat Shrink Tubing with a Lighter?
In a bind and thinking about using a lighter or a torch? An open flame seems like a quick and easy source of heat, but it’s a risky shortcut.
While a lighter can shrink the tubing, it is strongly discouraged. The uncontrolled open flame provides uneven heat, often scorching the tubing, and can easily damage the wire insulation underneath. It also deposits black soot, creating a messy finish.

Scorched heat shrink tubing from a lighter
Using a lighter is a last-resort method that should be avoided whenever possible. The flame is far too hot for most tubing materials, causing them to burn and become brittle rather than shrinking uniformly. This compromises the tubing’s dielectric strength and mechanical protection. You can instantly see the difference between a shrink from a heat gun versus a lighter; the lighter-shrunk tube is often shiny in some spots, burnt in others, and covered in soot.
The biggest danger is to the wire itself. The intense, pinpoint heat from a flame can melt the primary insulation on the wire, creating a short circuit risk. I’ve seen this happen many times. The flame is also difficult to control, making it a safety hazard. It’s a classic case of the tool not being right for the job. For the sake of quality, safety, and a professional appearance, investing in a basic heat gun is always the better choice. Never use a lighter unless it’s an absolute emergency and there are no other options available.
What Are the Common Mistakes When Heating Shrink Tubing?
Are your finished connections looking wrinkled, loose, or burnt? These small mistakes during the heating process can compromise the entire seal and lead to failures later.
Common mistakes include overheating, under-heating, uneven heating, and not accounting for longitudinal shrinkage. The most frequent error is starting at the ends instead of the middle, which traps air and creates bubbles.
Getting a perfect shrink requires avoiding a few common pitfalls. Let’s look at the top errors I see and how to correct them.
Overheating.
This happens when you hold the heat gun too close or in one spot too long. The tubing becomes glossy, then may char or melt, making it brittle. The fix is simple: keep the heat gun moving and at a proper distance.
Under-heating.
The tubing looks shrunk but is still loose. This means it never reached its full shrink temperature. Go over it again with sufficient heat until it’s snug.
Wrong technique.
That is the most critical mistake. Many people start shrinking from one end and go to the other. This pushes air toward the far end, where it gets trapped, forming a large bubble that can’t escape.
correct method
Always start in the middle and work your way out to the ends. This forces all the air out. Then keep rolling the tubing.
Also, remember that length of tubing shrinks too, usually by 5-10%. Cut your piece a little long to account for this.
Conclusion
Using the right tool and technique is key for heat shrink tubing. A heat gun provides the best result for most jobs, while an oven excels in mass production.