

Ordering the wrong size heat shrink tubing costs time and money. This simple mistake can halt production. Let’s make sure it never happens to you.
Heat shrink tubing is measured by its internal diameter (ID) when it is round, not its flat width. The supplied ID is its size before shrinking. This ensures it will fit over your components. Always check the supplier’s specifications for recovered (shrunk) diameter.

Understanding this key difference between internal diameter and flat width is the first step. Now, let’s explore what that means for sizing and how you can measure it accurately every time.
What Is The Size Of Heat Shrink Tubing?
Have you ever seen a size like "Φ10mm" and wondered what it really means? This number is the key to a perfect fit but is often misunderstood.
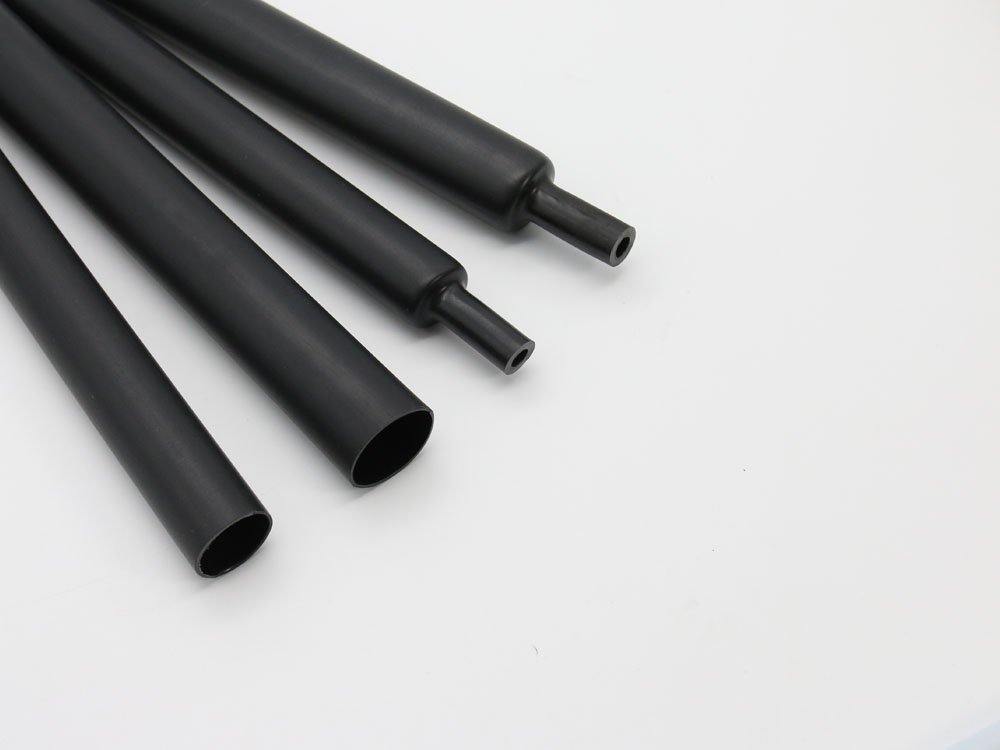
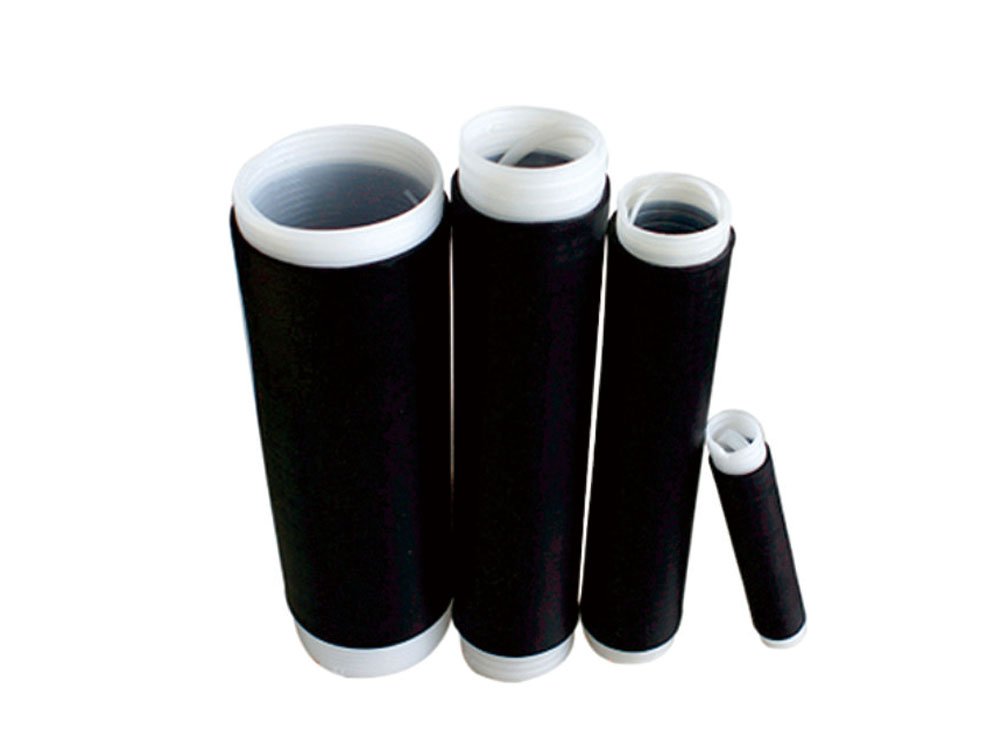
The size of heat shrink tubing refers to its minimum supplied internal diameter (ID). For example, a 10mm tube will have an ID of at least 10mm before you heat it. You must also consider the "recovered diameter," which is its ID after shrinking.

Diameter of heat shrink tubing
When my customers, like Peth in the Canada, place an order, the most critical number on the spec sheet is the size. Let’s break it down.
Supplied vs. Recovered Diameter
Every heat shrink tube has two essential diameter measurements:
-
Supplied Internal Diameter (ID): This is the "size" of the tubing as you receive it from the factory. It must be large enough to easily slide over the wire, cable, or component you need to cover. I always tell my clients to add a 25% buffer for a comfortable fit.
-
Recovered Internal Diameter (ID): This is the maximum diameter the tubing will shrink down to after you apply heat. This number ensures a tight, secure fit after installation.
| Specification | Definition | Importance |
|---|---|---|
| Supplied ID | The diameter of the tube before heating. | Must be bigger than the object you are covering. |
| Recovered ID | The maximum diameter of the tube after full shrinkage. | Must be smaller than the object you are covering. |
Thinking about both numbers prevents ordering mistakes.
What Is The Correct Tool To Measure Heat Shrink Tubing Size?
Using a ruler to measure flat tubing is a common and costly mistake. For precise, repeatable results, you need a tool designed for measuring internal diameters.
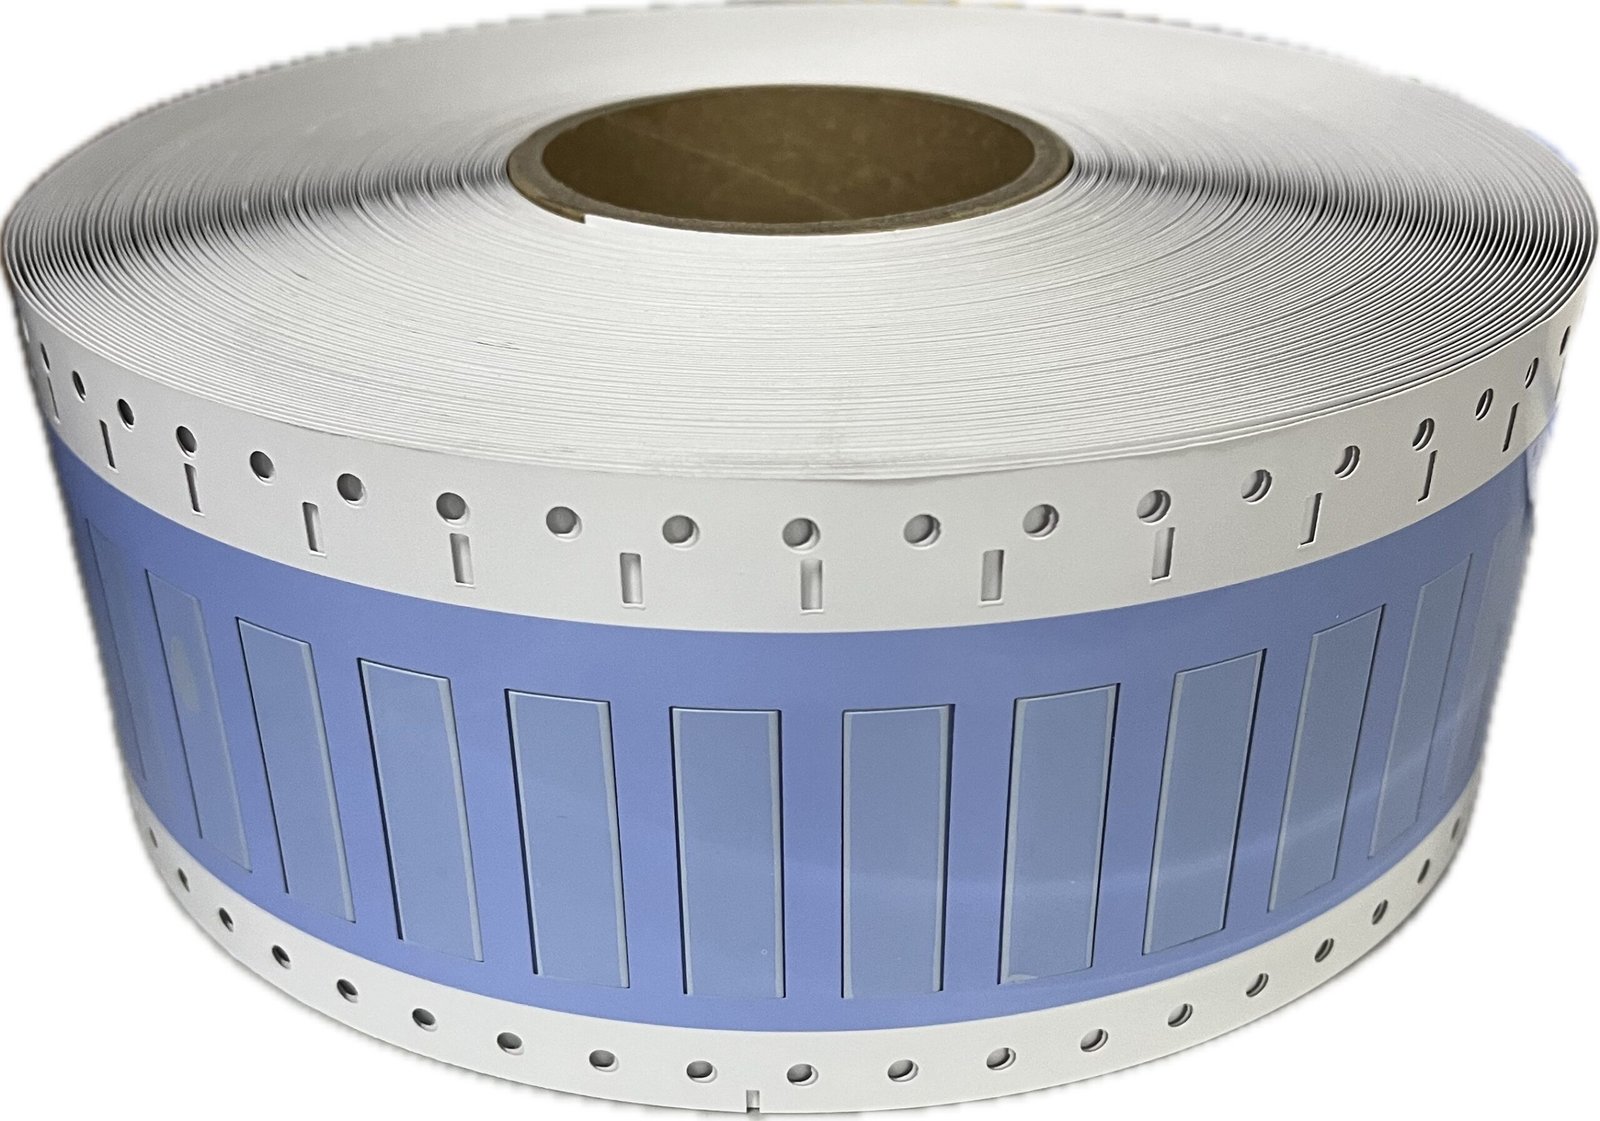
The correct and most professional tool to measure heat shrink tubing size is a pin gauge. You insert plugs of increasing size into the tube until you find the one that fits snugly. This directly measures the internal diameter (ID) accurately.

Pin Gauge Set For Heat Shrink Tubing
In our quality control department, we rely on pin gauges1 exclusively. Here is why it’s the industry standard. A ruler or caliper measuring the flat width doesn’t give you the true internal diameter. The material’s thickness and the way it lays flat can mislead you.
Why a Pin Gauge Works Best
- Direct Measurement: It measures the internal space directly, which is the critical dimension.
- Accuracy: It removes guesswork and calculation errors associated with converting flat width to diameter.
- Consistency: Anyone on your team can use a pin gauge and get the same result every time, which is vital for quality control when you receive a shipment.
Using a Pin Gauge Set
A set comes with multiple plugs of calibrated sizes (e.g., 5.0mm, 5.1mm, 5.2mm). You simply find the largest plug that fits inside the tubing without deforming it. That plug’s size is your tubing’s supplied internal diameter.
How To Measure Heat Shrink Tubing Size Without A Pin Gauge?
What if you’re on the factory floor and don’t have a pin gauge handy? You need a reliable way to get a close estimate without the official tool.
Without a pin gauge, use a precision caliper to measure the flat width. Then, use the formula: Internal Diameter ≈ (Flat Width / 3.14159) 2 – (2 Wall Thickness). This calculation converts the flat measurement into a usable internal diameter estimate.

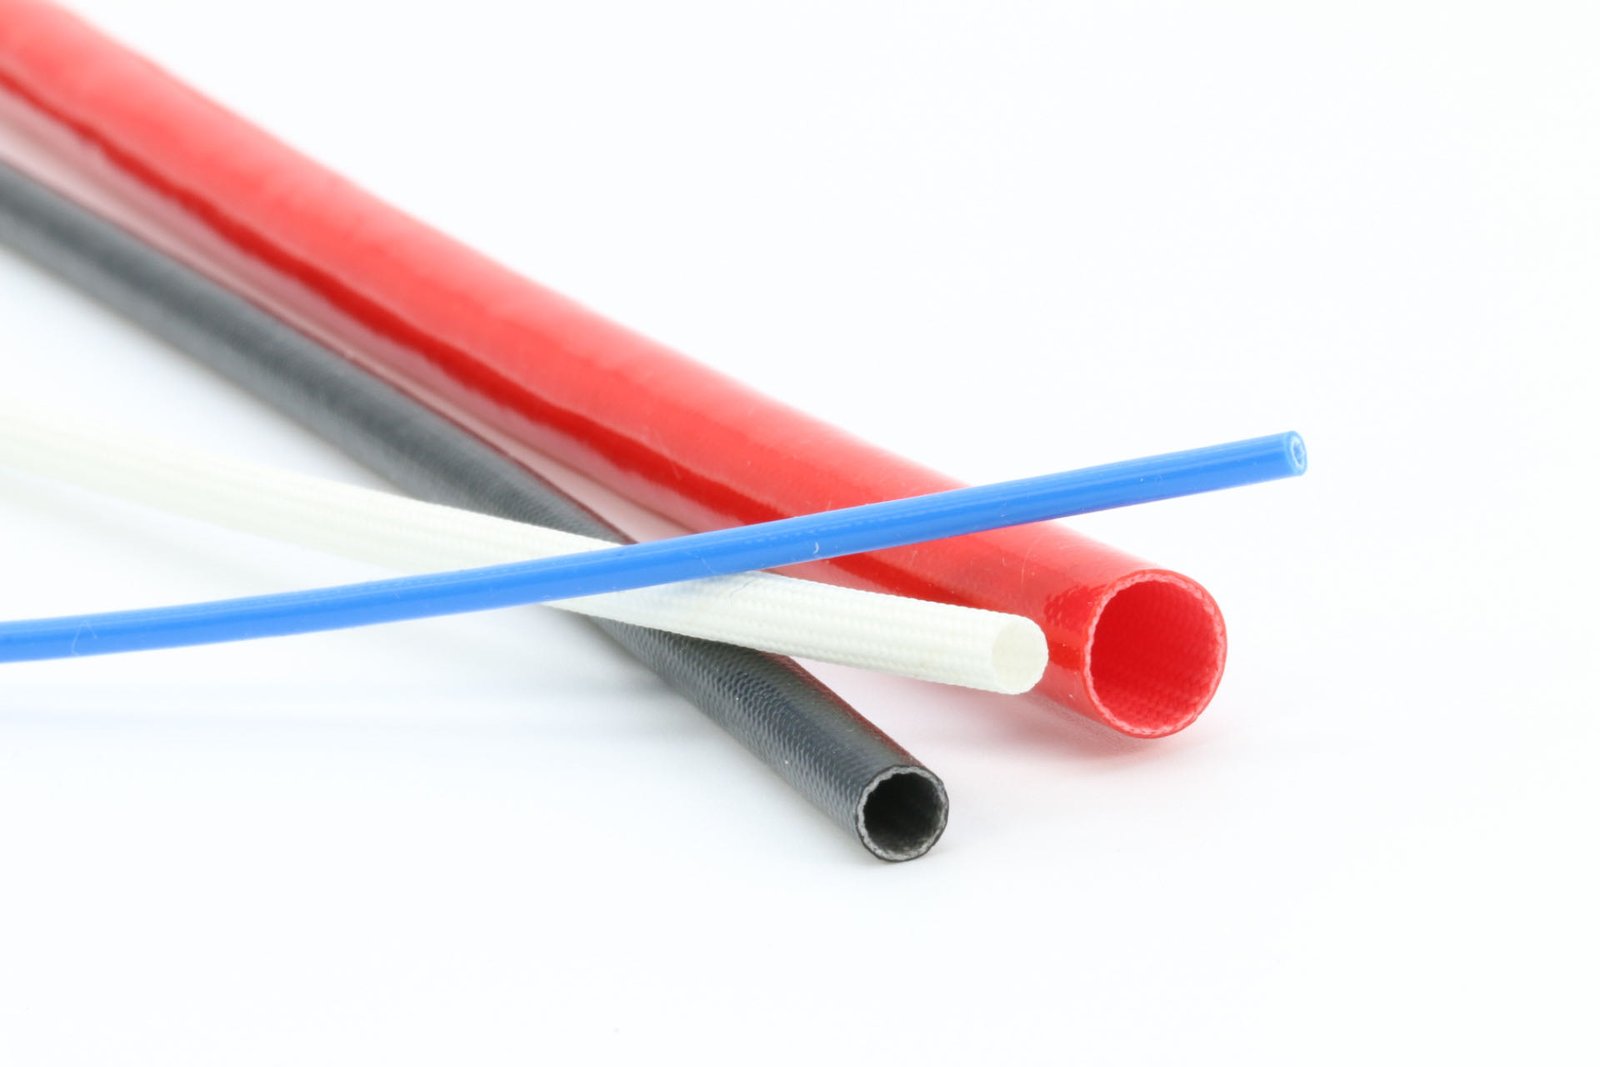
Press the heat shrink tubing to measure with caliper
I sometimes get urgent calls from customers who need to verify a size quickly. While I always recommend a pin gauge for official QC, a caliper2 can work in a pinch if you use the right method.
Step-by-Step Guide to Measure Heat Shrink tubing with a Caliper
- Pinch the Ends: Gently press the ends of the tube to make the center as round as possible.
- Measure Internal Diameter: Carefully place the internal jaws of your digital caliper inside the tube. Open them until they lightly touch the inside walls. This reading is a good approximation of the ID.
- Measure Flat Width (Alternative): Lay the tubing flat without stretching it. Measure the width from edge to edge. This is the "flat width."
- Calculate the ID: Use the formula I mentioned. For example, if the flat width is 15.7mm and the wall thickness is 0.3mm:
- ID ≈ (15.7 / 3.14159) 2 – (2 0.3)
- ID ≈ (5) * 2 – 0.6
- ID ≈ 10 – 0.6 = 9.4mm
This shows why just dividing by pi isn’t enough; you must account for wall thickness.
What Size Heat Shrink Tubing Should I Use?
Choosing the right size is more than just fitting the tube over a wire. You need to ensure a tight, professional seal after shrinking for long-term reliability.
Select a heat shrink tube with a supplied diameter that is 25% larger than the object you are covering. Also, ensure its recovered diameter is smaller than the object. This provides a secure fit without being too difficult to install or too loose after shrinking.

This is the most practical question my clients ask. Let’s use a real-world example to make it simple. Imagine you need to insulate a wire bundle with a diameter of 8mm.
The Selection Process
-
Calculate the Required Supplied ID:
- Your object diameter: 8mm
- Add a 25% buffer: 8mm * 1.25 = 10mm
- You need a tube with a supplied ID of at least 10mm. So, a Φ10mm or Φ11mm tube is a good start.
-
Check the Recovered ID:
- Let’s say you choose a Φ10mm tube with a 2:1 shrink ratio.
- Its recovered diameter will be 10mm / 2 = 5mm.
- Since 5mm is smaller than your 8mm wire bundle, it will create a tight grip.
Here is a quick reference table:
| Your Object’s Diameter | Minimum Supplied ID (with 25% buffer) | Recommended Tube Size (2:1 Ratio) | Recovered ID (Will it be tight?) |
|---|---|---|---|
| 4mm | 5mm | Φ5mm | 2.5mm (Yes) |
| 8mm | 10mm | Φ10mm | 5mm (Yes) |
| 15mm | 18.75mm | Φ20mm | 10mm (Yes) |
Always double-check the shrink ratio on the product datasheet.
Conclusion
Measure the internal diameter, not the flat width, using a pin gauge for accuracy. Choose a size 25% larger than your component to ensure a perfect, reliable fit.